

How to Determine the Perfect Placement for Blush Makeup
May 15,2025
Blush makeup is a wonderful tool. It adds warmth, depth, and energy to your face. However, getting that ideal, glowing look depends on one key thing: placement. At Topfeel Group, we know the skill and science behind applying blush. We’re excited to help you find the best way to place blush makeup based on your special features. This detailed guide covers the factors affecting blush placement, useful application methods, mistakes to avoid, and why we, at Topfeel, are your trusted source for top-notch blush products.
Factors That Influence Blush Placement
The best blush placement relies on several elements. These include face shape, skin tone, and the event. Knowing these factors ensures your blush highlights your natural charm instead of hiding it.
Face Shape and Its Role in Blush Application
Your face shape greatly affects where blush should go to create balance and beauty. Here’s a simple guide for common face shapes:
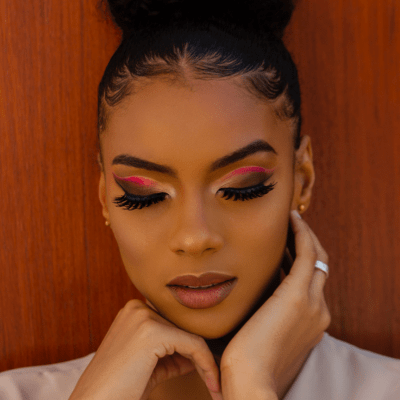
Oval Face
- Placement: Put blush on the cheekbones. Blend it gently upward toward the temples.
- Goal: Highlight the natural balance of an oval face. Avoid making it look longer.
- Tip: Keep blush on the round parts of the cheeks for a gentle, even look.
Round Face
- Placement: Brush blush from the round parts of the cheeks upward to the temples.
- Goal: Make a round face seem longer and slimmer.
- Tip: Don’t put blush too close to the middle of the cheeks. This can make the face look rounder.
Square Face
- Placement: Focus blush on the round parts of the cheeks. Blend it in a circular motion.
- Goal: Soften the sharp edges of a square face.
- Tip: Blend outward to avoid strong lines that highlight the jaw.
Heart-Shaped Face
- Placement: Apply blush below the round parts of the cheeks. Blend toward the cheekbones.
- Goal: Balance a wider forehead and cheekbones with a narrower chin.
- Tip: Use a light touch to keep attention away from the upper face.
|
Face Shape |
Blush Placement |
Key Tip |
|
Oval |
Cheekbones, upward blend |
Focus on round parts |
|
Round |
Diagonal from round parts to temples |
Avoid cheek center |
|
Square |
Round parts, circular blend |
Soften sharp lines |
|
Heart-Shaped |
Below round parts, toward cheekbones |
Apply lightly |
Skin Tone and Choosing the Right Blush Shade
Your skin’s undertone affects the blush color you pick. It also changes how you apply it to look natural.
Warm Undertones
- Best Shades: Peachy, coral, or warm pink colors.
- Placement: Apply a bit higher on the cheekbones. This mimics a sunny glow.
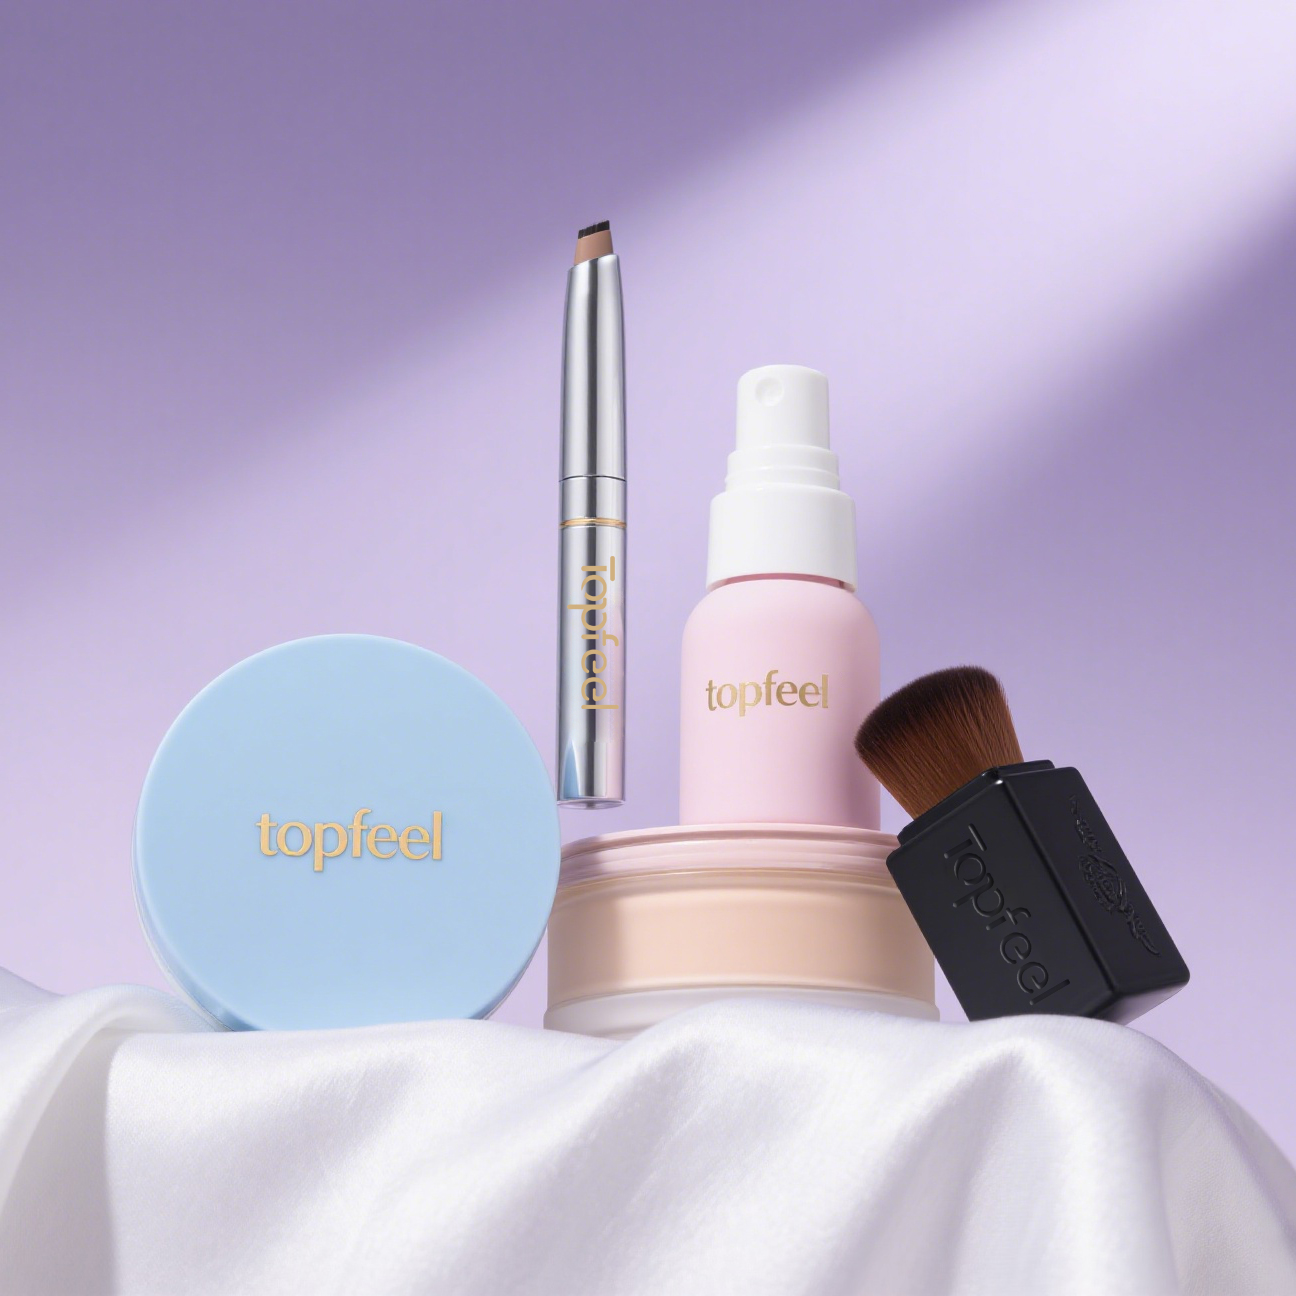
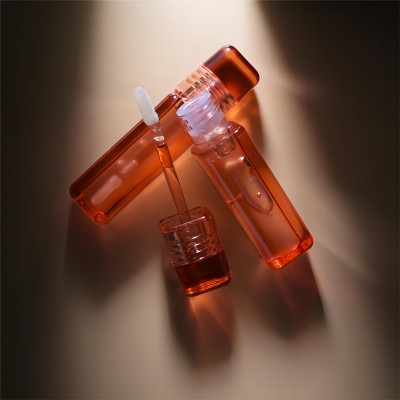
- Topfeel Recommendation: Try our Waterproof 2-in-1 Cream Blush Stick. It gives a bright, lasting coral glow.
Cool Undertones
- Best Shades: Rosy pinks, berry shades, or soft mauves.
- Placement: Focus on the round parts of the cheeks. This creates a fresh, youthful look.
- Tip: Blend well to avoid sharp contrasts on cooler skin.
Neutral Undertones
- Best Shades: Soft pinks, gentle peaches, or rose shades.
- Placement: Blend across the cheekbones for flexibility.
- Tip: Try different textures. Our 2-in-1 Blush Powder Creamoffers a flexible finish.
Occasion and Desired Look
The event you’re attending shapes how much blush you use and where you put it. This helps match your desired style.
Everyday Natural Look
- Placement: Lightly dust blush on the round parts of the cheeks.
- Goal: Achieve a soft, healthy glow.
- Tip: Use a gentle touch with powder blush for a barely-there effect.
Glamorous Evening Look
- Placement: Apply blush higher on the cheekbones. Pair it with highlighter.
- Goal: Create a bold, sculpted look.
- Topfeel Recommendation: Our Custom Packaging Multi-Use Cream Highlighting Blushadds a dazzling glow for evening style.
Professional Appearance
- Placement: Blend blush softly along the cheekbones.
- Goal: Look polished without overwhelming your style.
- Tip: Choose neutral colors to suit work settings.
Techniques for Applying Blush Effectively
Learning blush application takes the right tools and methods. These should match the blush type you use.
Tools for Blush Application
The tools you pick can improve or ruin your blush application.
Brushes: Types and Uses
- Angled Brush: Great for exact placement on the cheekbones.
- Fluffy Brush: Perfect for spreading powder blush softly.
- Stippling Brush: Ideal for layering cream or liquid blush.
Sponges and Their Benefits in Blush Application
- Benefit: Sponges blend cream and liquid blushes smoothly. They prevent streaks.
- Tip: Wet the sponge for a fresh, dewy look.
Methods of Applying Different Types of Blush
Each blush type needs a specific method to work best.
Powder Blush Application Tips
- Technique: Swirl a fluffy brush in the blush. Tap off extra. Apply in light, circular motions.
- Tip: Add more slowly to avoid using too much.
Cream Blush Application Techniques
- Technique: Dab blush onto cheeks with fingers or a sponge. Blend upward.
- Tip: Warm the blush on your fingers. This makes blending easier.
Liquid Blush Application Best Practices
- Technique: Put small dots on cheeks with the applicator. Blend quickly with a sponge.
- Tip: Use thin layers to control the strength.

Common Mistakes to Avoid When Applying Blush
Even skilled makeup lovers can make blush mistakes. Here’s how to avoid them.
Overapplication and How to Fix It
- Mistake: Using too much blush. This can make you look overly made-up.
- Fix: Blend with a clean sponge. Or apply clear powder to soften it.
- Tip: Start with a little blush. Add more if needed.
Incorrect Placement Based on Face Shape or Features
- Mistake: Putting blush too low or too high for your face shape.
- Fix: Check the face shape guide above. Blend to the right spot.
- Tip: Smile to find the round parts of your cheeks. Start there.
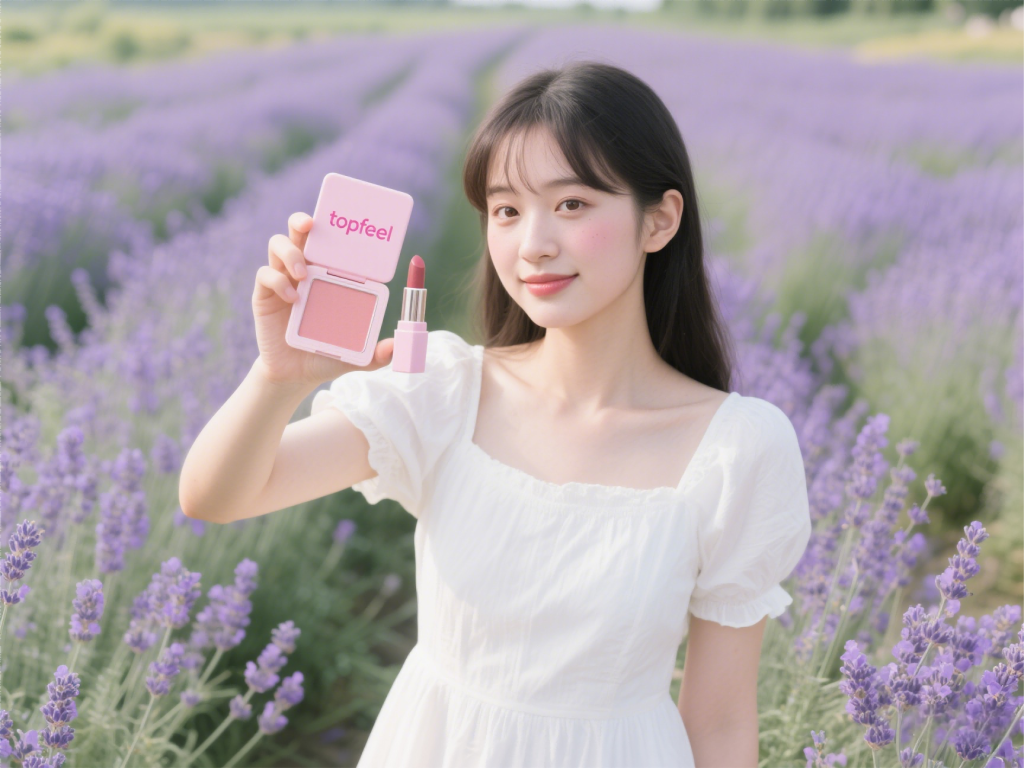
Highlighting Topfeel as a Reliable Blush Supplier
At Topfeel Group, we take pride in being a top cosmetics maker. We deliver high-quality blush products that help brands and users shine.
Why Choose Topfeel for Your Makeup Needs?
- Experience: We’ve worked in cosmetics for many
- Personalization: We offer custom formulas and packaging. This includes earth-friendly options.
- Quality Promise: Our factories meet GMPc and ISO22716 standards. Every product is safe and reliable.
Commitment to Quality and Innovation in Cosmetics
We always push to improve. We mix nourishing ingredients with new formulas to make blushes that stand out. From our waterproof cream sticks to multi-use highlighting blushes, our products enhance your makeup routine. Contact us to see how we can bring your blush ideas to life.
Conclusion: Achieving the Perfect Look with Proper Blush Placement
Mastering blush placement means understanding your unique traits. You tailor your application to highlight them. Consider face shape, skin tone, and the event. Use the right tools and methods. This way, you can achieve a flawless, glowing look. At Topfeel Group, we’re dedicated to providing excellent blush products. Explore our collection today. Elevate your makeup routine.
FAQs on Blush Makeup Placement
What is the most flattering way to apply blush?
The best blush application depends on your face shape. For example, oval faces look great with blush on the cheekbones. Round faces benefit from a diagonal sweep toward the temples. Always blend well for a natural look. Start with a light layer. Add more if needed.
Can blush placement change based on age?
Yes, blush placement can change with age. For older skin, apply blush a bit higher on the cheekbones. This lifts the face. It avoids drawing attention to sagging areas. Use cream or liquid formulas for a moist, youthful glow.
How do I choose the right blush formula for my skin type?
- Dry Skin: Choose cream or liquid blushes. They add moisture and a fresh look.
- Oily Skin: Pick powder blushes. They give a matte, lasting finish.
- Combination Skin: Try cream-powder mixes. Our 2-in-1 Blush Powder Cream offers a flexible finish.