


Home--EDUCATION--Blog--SHOW INFORMATION
--How to Create the Perfect Cut-Crease Eye Makeup — Quick & Simple Tips for Every Eye Shape
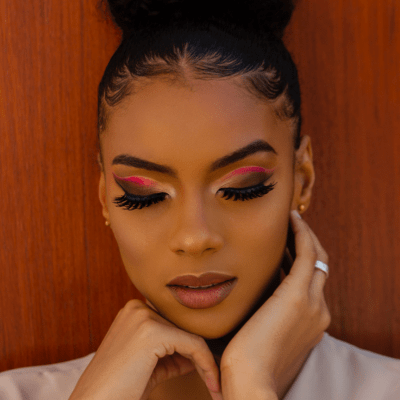
How to Create the Perfect Cut-Crease Eye Makeup — Quick & Simple Tips for Every Eye Shape
September 03,2025
Ever scrolled TikTok or Instagram and stopped at those bold, crisp eye looks that seem straight out of a magazine? That’s the cut-crease makeup magic. Good news: you don’t need to be a pro to nail it. With easy steps and a little practice, you can create a fast cut crease that fits your eye shape, even if you’re new. Ready? Let’s dive in.
Step 1: Prep Your Lids
A great cut crease starts with a smooth base. Dab on an eyeshadow primer or a thin layer of concealer over your eyelids. This makes colors pop and keeps them in place. It’s a quick step, but it’s key.
Pro Tip: Choose a light, strong primer for a look that lasts.
With your lids ready, let’s shape the crease.
Step 2: Mark the Crease
Here’s where the look comes alive. Grab a small, soft brush and dust a medium matte shade just above your natural crease. Got hooded eyes? Go a bit higher than the fold to make eyes look bigger.
Quick Trick: Use a spoon’s edge or a makeup guide for a neat curve. It’s super helpful when you’re rushed.
Next, let’s add some depth.
Step 3: Add Depth
Pick a darker shade — like matte brown or plum — and blend it above the crease line. Focus the boldest color on the outer corner, then soften it inward. This creates a smooth flow that makes the cut crease stand out. Depth adds drama.
Now, for the step that defines it all.
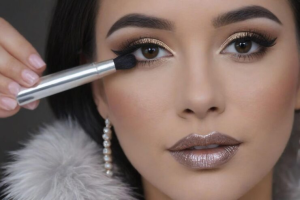
Step 4: Carve the Crease
This is the big moment. Use a flat concealer brush to apply a dab of concealer or light cream shadow along the crease line. Keep edges sharp — that’s what makes a cut crease pop. Precision is everything.
With the lid carved, let’s make it shine.
Step 5: Add a Bright Shade
Press a shiny or bold matte eyeshadow onto the carved lid. For a dramatic vibe, try golds or silvers. For a soft, everyday look, go with champagne or pale pink shimmer. A little shine grabs attention.
Finally, pull it together.
Step 6: Finish with Style
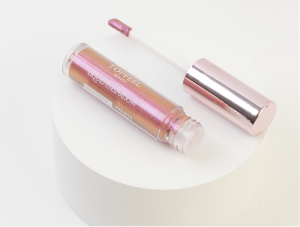
Add eyeliner to sharpen the look and mascara for extra flair. Or, add a shiny line onto the carved lid by using a Shimmery Waterproof Liquid Eyeshadow. As you practice, keep these tips in mind.
Extra Tips for Beginners
- Start with soft colors like beige before trying bold reds or blues. It’s less scary.
- Good brushes help a lot. Get precise ones.
- Worried about uneven eyes? Use light shades first — they’re easy to fix.
- Plus, take your time. Practice makes it easier.
From Tutorial to Reality — With Products You Can Trust
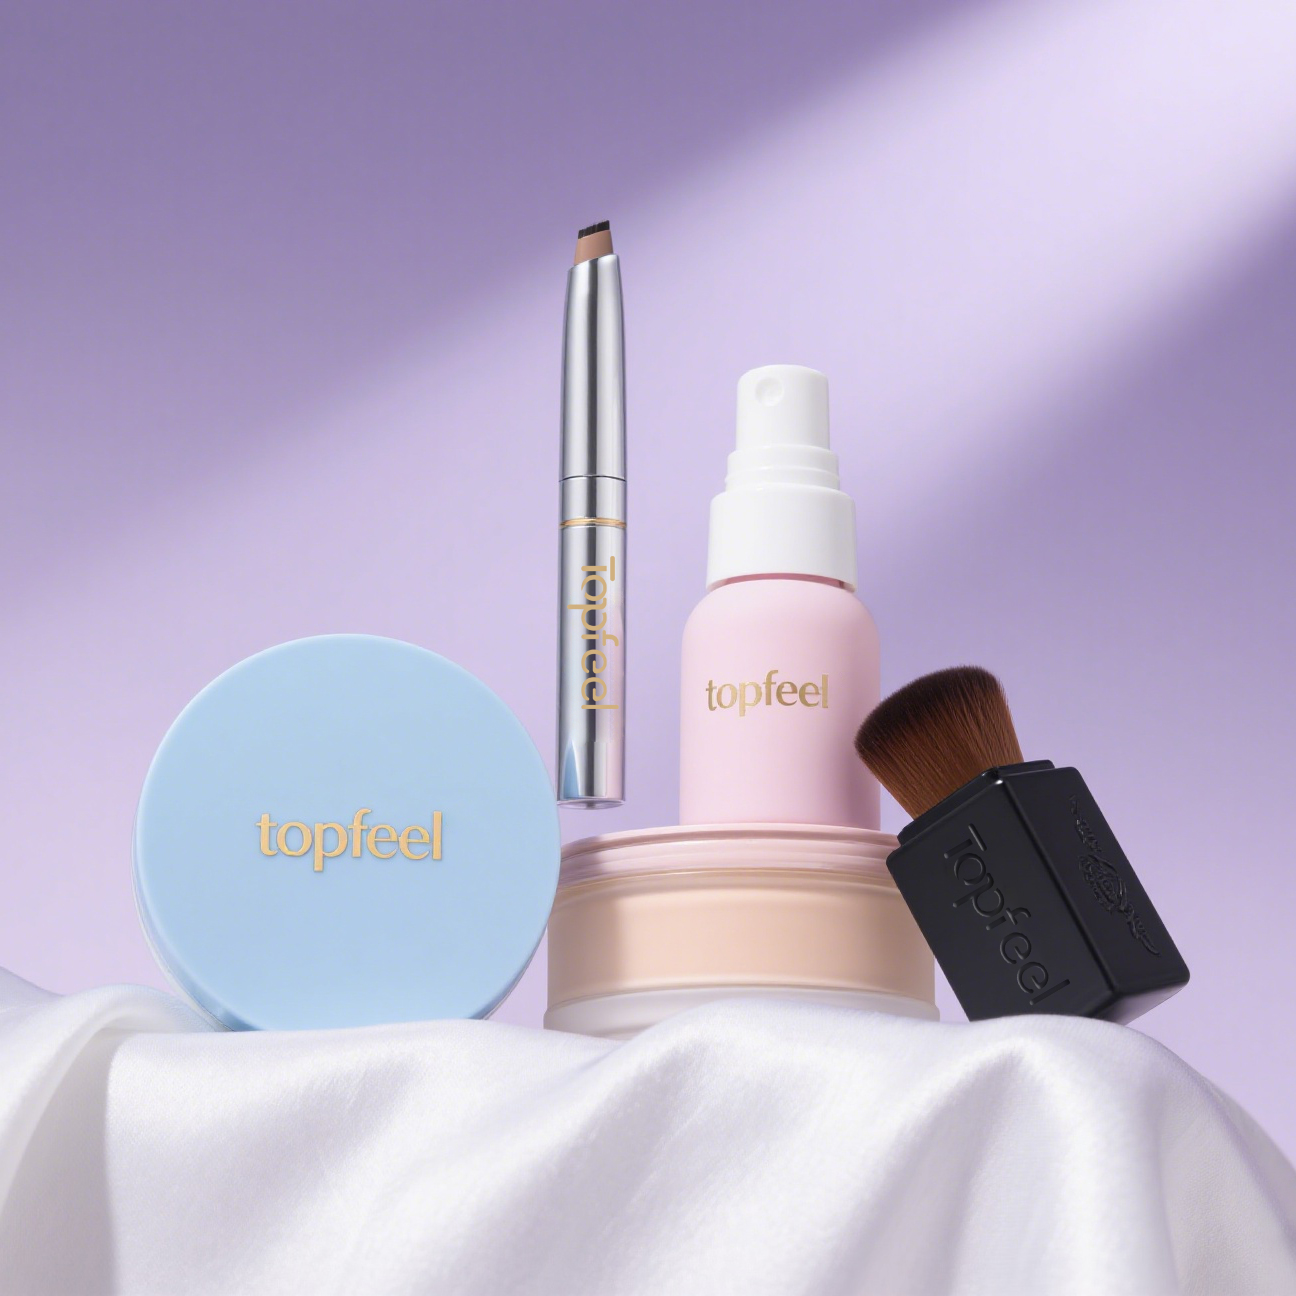
This look shines with reliable eyeshadows and tools. Our formulas blend easily, stay bright, and feel comfy. At Topfeel, we’ve made top-notch beauty products for over ten years — the kind artists love. Whether you’re new or leveling up, our eyeshadow palettes make it simple.
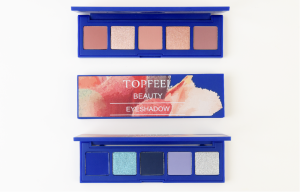
Check out our eyeshadow range at www.topfeelgroup.com!
Tips for Your Eye Shape
Your eye shape is unique, so tweak the cut crease to flatter it.
Almond Eyes: Draw the crease along your natural fold. Blend the darker shade outward for a wing effect. It suits your shape.
Hooded Eyes: Place the crease line higher, where the lid shows when eyes are open. A bold lid shade draws attention.
Monolids: Create a new crease above your lid. Look in a mirror and draw a gentle curve. A bright shade adds pop.
Round Eyes: Stretch the darker shade past the outer corner for a longer look. A bright lid shade opens eyes up.
Mistakes to Avoid
Even pros slip up. Here’s what to dodge:
- Too Much Product:Piling on eyeshadow makes blending hard. Use a light hand.
- No Primer:Your look might fade without it. Always prep.
- Harsh Lines:Blend transitions for a clean finish.
- And don’t worry — practice fixes everything.
FAQs:
Q1: Should I use concealer or an eye primer to cut the crease?
A: Both work, depending on your vibe. Concealer, lighter than your skin, gives a bold, sharp line. Primer makes the lid shade pop and last. Beginners find concealer easier for a clean cut.
Q2: I have hooded eyes or monolids. How do I make my cut crease visible?
A: Great question! Draw the crease above your natural fold. Look straight into a mirror, eyes open, and mark the visible lid area. This keeps the line in sight and makes lids look bigger.
Q3: What brush is best for a sharp line?
A: A small, flat brush is perfect. Try a concealer brush or fine-tipped lip brush. Dense bristles give control for a crisp edge. Avoid fluffy brushes here — they blur the line.